Roosting Bars DIY! Step-By-Step Guide!
Dec 5, 2024
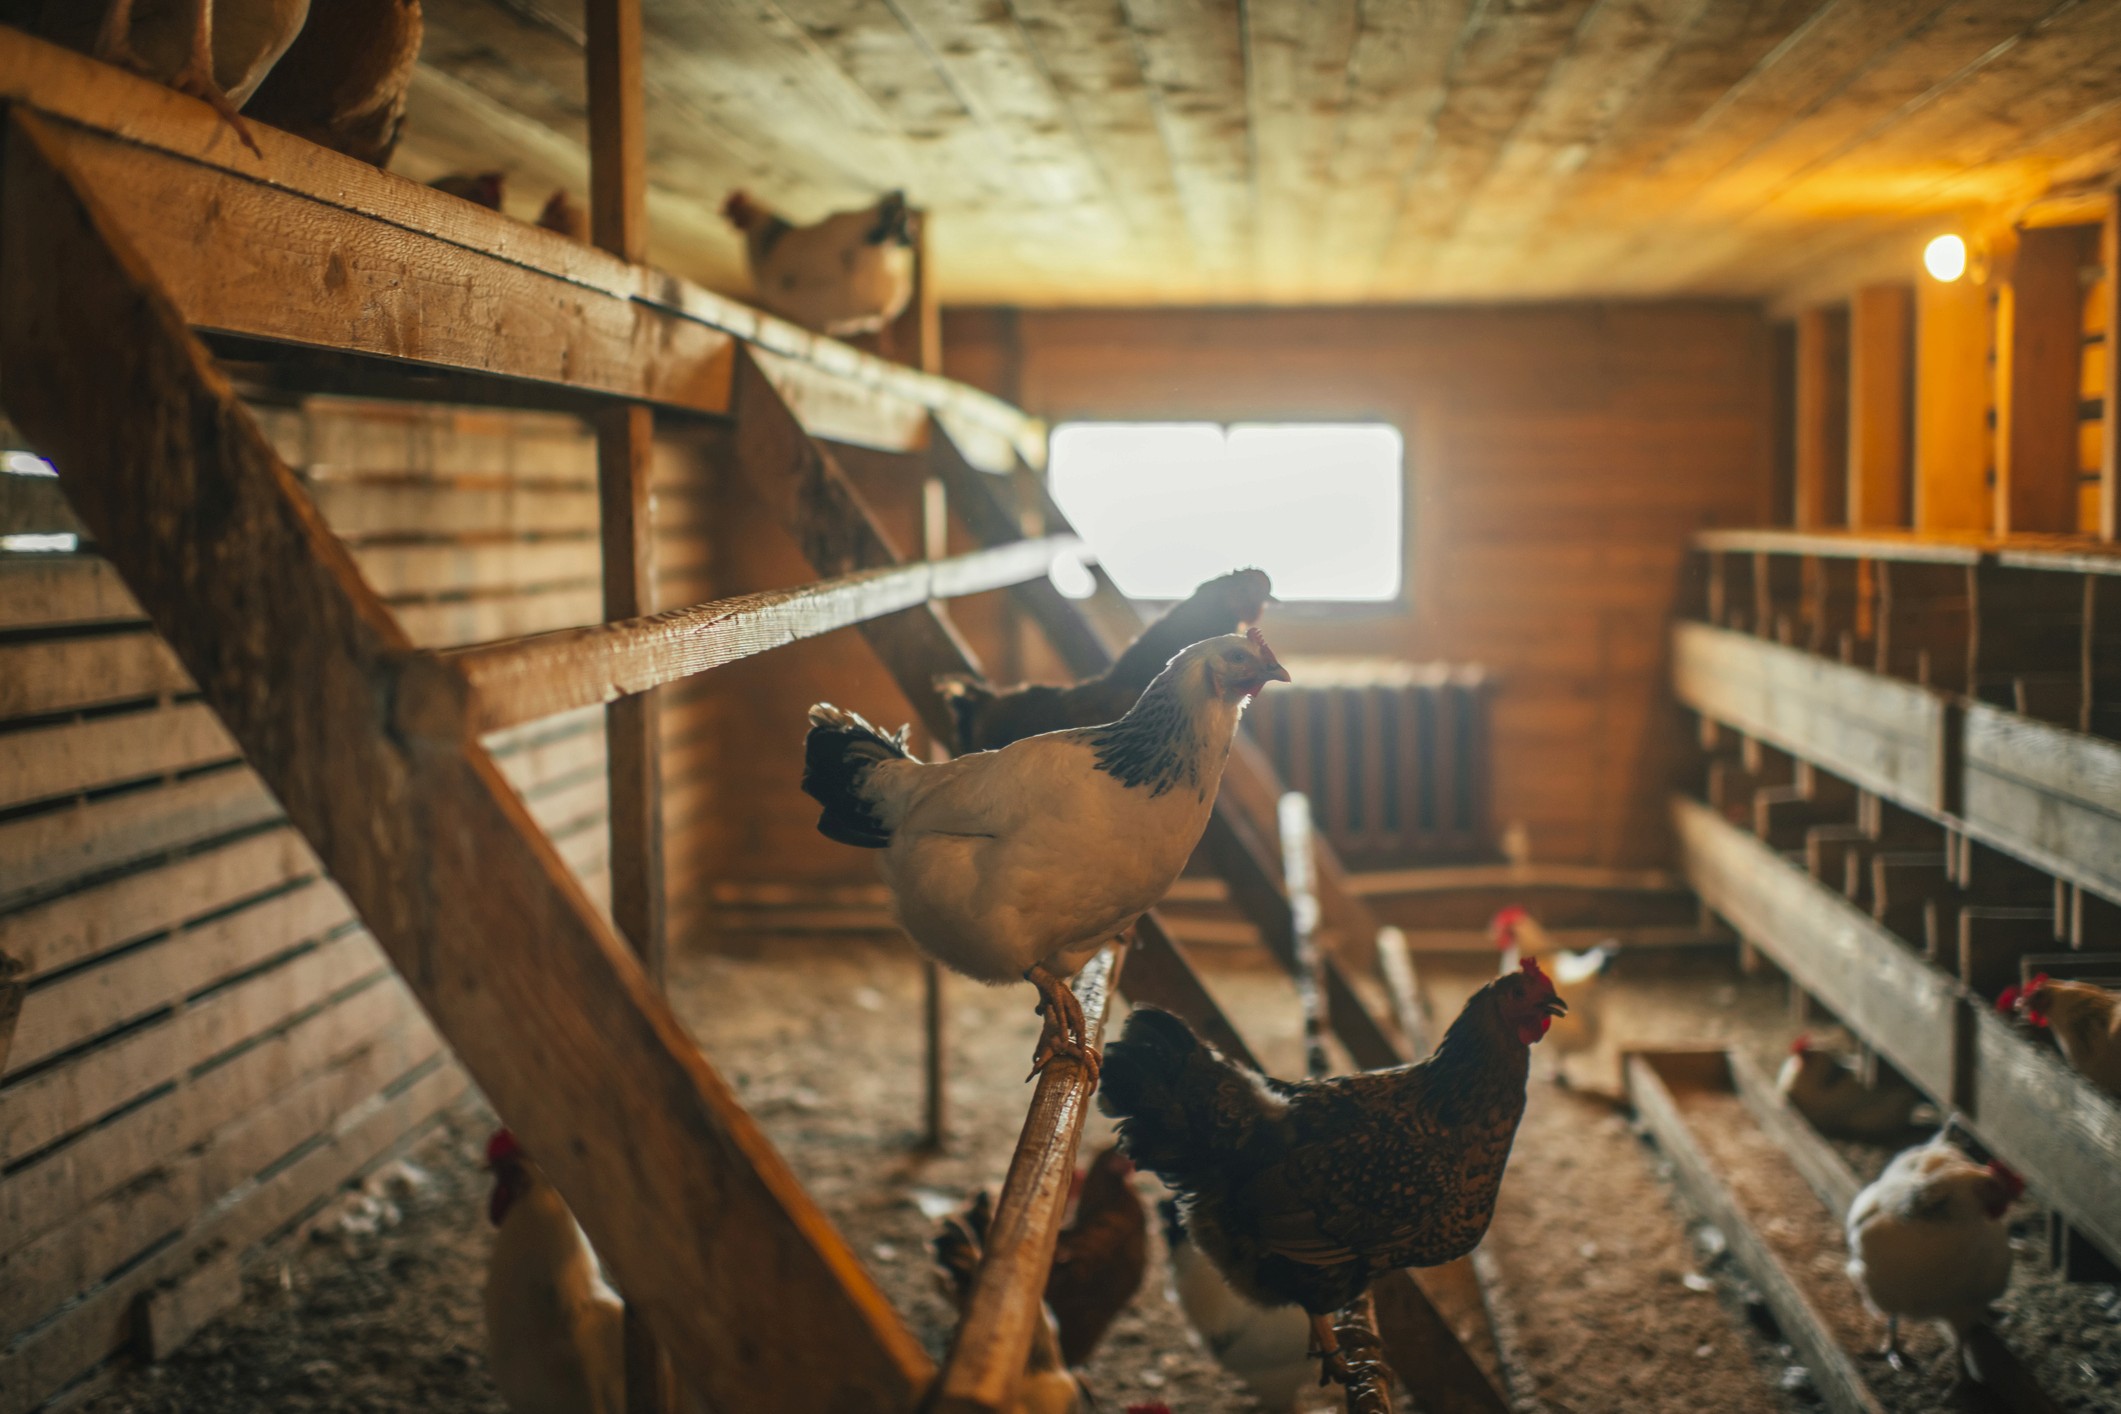
Remember the first time you saw your hens comfortably perched on their roosting bars, all settled in for the night? That sight is a testament to a well-designed chicken coop. We know that a good night's rest is crucial for our birds health and productivity.
Today, we’ll share step-by-step instructions on building DIY roosting bars that will improve your birds living enviroment. Let’s get started on this exciting project:
Materials Needed:
Lumber
Sandpaper
Measuring tape
Saw (if needed to cut wood to size)
Drill
Screws
Level
Pencil
Measure the Coop
Determine the space where you want to install the roosting bars. Ensure there's enough room for all your chickens, allowing about 8-12 inches of roosting space per chicken.
Choose the Wood
Select your lumber, preferably 2 x 4's. This size is comfortable for chickens to grip with their feet and even prevents frostbite, due to the fact that birds sit with their feet level and uses their body to cover them up for extra warmth. Ensure the wood is smooth and free from splinters. Use sandpaper to smooth any rough spots.
Create the Frame
Let's create the frame. You will need two vertical supports minimum (depending on how wide you want it, add more 2 x 4's as support to your liking. Just make sure it's stable), these will have to be cut to desired length and on a 45 degree angle on both sides to be level with the floor and wall.
Cut the Roosting Bars
Cut the lumber to the desired length for your roosting bars. Measure out the width between two of the vertical supports and then cut the lumber for your horizontal roosting bars, to that same measurement.
Mark the Installation Points
Use a pencil to mark the spots where you will attach the frame to the coop walls. Ideally, place the roosting bars at least 18-24 inches off the ground to keep chickens safe from predators and to keep their roosting area clean. If you're installing multiple bars, make sure to stagger them vertically, leaving about 12-18 inches of space between each bar to give the chickens enough space.
Drill Pilot Holes
Drill pilot holes into the coop walls at the marked points. This will make it easier to screw the frame in place and prevent the wood from splitting. Do the same thing with the frame, drill holes where you will place the roosting bars later on.
Attach the Roosting Bars
Hold the roosting bar in place and use a level to ensure it is straight. Screw one end of the roosting bar into the pilot hole on one side of the frame. Repeat this process for the other end of the roosting bar, ensuring it remains level.
Check Stability
Once all roosting bars are installed, gently apply pressure to each one to ensure they are securely fastened and can support the weight of the chickens. If unstable, add more vertical support as mentioned above.
Final Touches
Sand any remaining rough spots or edges to prevent injuries. Clean up any sawdust or debris from the coop area.